Dec 10 2025
Crafting an Effective BIM Execution Plan (BEP) That Aligns Teams from Day One
BIM Execution Plan(BEP)

A BIM Execution Plan (BEP) is more than a modeling checklist. It is a project’s information playbook. It defines why you’re modeling, what information matters, who owns each decision, how models are exchanged, and when deliverables are due. When done well, a BEP reduces coordination drag, accelerates approvals, and keeps all project documents, including models, drawings, and specifications, telling the same story.


Think of the BEP as the contract for coordination, consistency, and data quality. When expectations are explicit from day one, teams see fewer RFIs, fewer clashes, and a smoother path from design through handover.

1. What Is a BIM Execution Plan and Why It Matters

A BEP aligns teams on the purpose behind the model. It clarifies anticipated use cases, including coordination, quantity takeoff, schedule/cost links, energy or code checks, and facilities handover,  and defines what information must exist for those use cases to succeed. Without this alignment, teams often model differently, classify elements inconsistently, and store files in incompatible formats or locations.


A strong BEP helps prevent rework, miscommunication, and model drift. It sets the tone for how decisions will be documented, how clashes will be resolved, how responsibilities will be handed off, and how information will be validated before exchange.

Outcome you’re aiming for:

Fewer RFIs, cleaner coordination, faster approvals, and a handover dataset that facilities can actually use.

*For the full lifecycle context, see our BIM workflow guide.

2. What to Include in a Strong and Enforceable BEP

A good BEP doesn’t try to cover everything. Instead, it captures only what needs to be explicit, enforceable, and consistent. Most effective BEPs are 6–12 pages, with links to templates or standards for deeper detail. Keep it short enough that people will actually follow it.

1) Roles and responsibilities

  • Identify model authors, reviewers, approvers, and publishers.
  • Assign responsibilities using a simple RACI (Responsible, Accountable, Consulted, Informed) for each package.

2) Modeling standards

  • Include naming rules, classification system, coordinate system, view templates, and the level of information needed by phase.
  • Define how elements must behave, not how software settings are configured.

3) Property schema (non-geometric data)

  • Define required fields for key elements (e.g., fire rating, manufacturer, model, warranty dates, capacity values).
  • Publish accepted units, allowed values, and formatting standards so exports are consistent.

4) Exchange plan

  • Set a predictable cadence (weekly or biweekly), file formats (native + open), and publish location in the Common Data Environment (CDE).
  • Document acceptance criteria, the specific checks a model must pass before entering the shared space.

5) Issue workflow

  • Define how issues are created, assigned, and closed.
  • Set SLAs (expected turnaround times) and how decisions are recorded.

6) Model health and QA

  • Establish warning thresholds, file-size/view limits, clash test scope, and pre-publish parameter checks.
  • Define the minimum quality bar for a model to be accepted into coordination.

7) KPIs and reporting


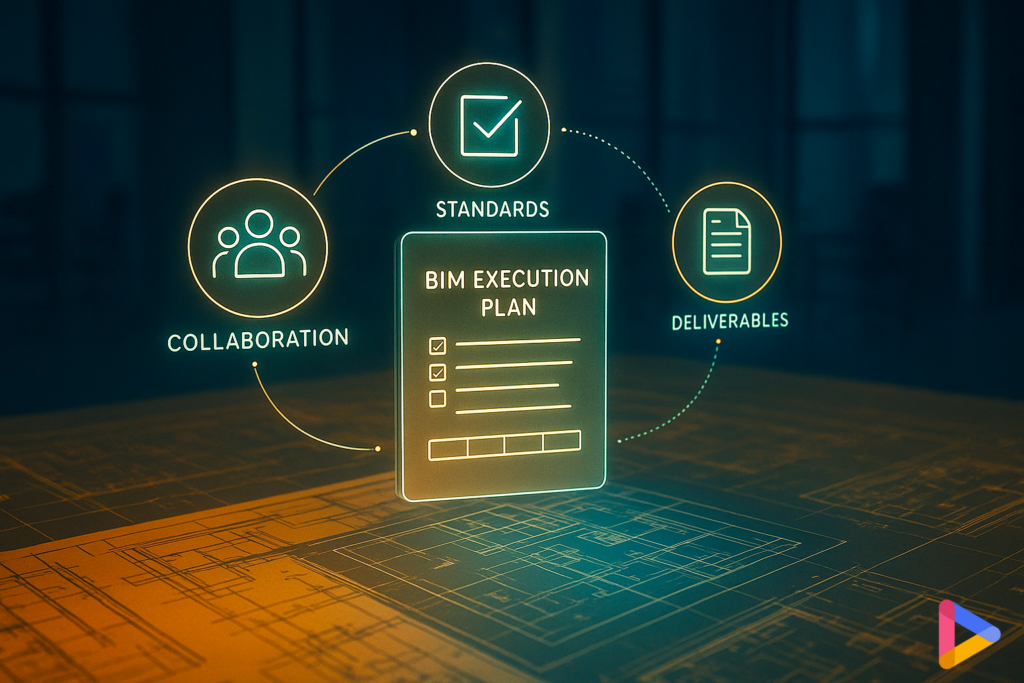
A small set works best:

  • Issue closure rate
  • % of packages passing checks on the first try
  • Completeness of required asset data at handover

3. How to Create a BEP Without Endless Meetings

A BEP should take two hours to define and one week to finalize. The goal is alignment, not bureaucracy. Use one workshop and a focused follow-up to get it done.

Step 1 — Start with use cases (30 min)

Agree on why the project is using BIM: coordination, quantities, 4D/5D (schedule/cost) links, code checks, energy modeling, and facilities handover.

Step 2 — Define roles and deliverables (20 min)

Assign model authors, reviewers, and approvers. Draft a drawing/model index with owners and due dates.

Step 3 — Set the property schema (25 min)

Select the fields that matter. Publish units and allowed values. Keep it to one or two pages.

Step 4 — Choose the CDE and exchange rhythm (15 min)

Define the folder structure, permissions, naming conventions, and the publishing calendar. Ban email attachments for model exchange.

Step 5 — Agree on checks (15 min)

Document pre-publish rules: naming, required properties, clash scope, view templates, warnings caps.

Step 6 — Draft, pilot, finalize (rest of week)

Pilot the BEP in one zone. Note what failed, adjust, and sign off.

What “good” BIM Execution Plan looks like:

  • Anyone can find the latest federated model in under 60 seconds
  • Non-compliant packages bounce with clear error messages
  • A simple dashboard shows issue aging, data completeness, and model health

4. Aligning with ISO 19650 Without Turning the BEP Into Paperwork

ISO 19650 offers a powerful structure for information management, but many teams misinterpret it as a paperwork exercise.

Keep it simple: Use ISO 19650 as a north star, not a checklist.

  1. Who approves what?
  2. What gets exchanged?
  3. When is it due?
  4. How is it checked?


Let the ISO standard provide the framework. Let your BEP capture only what matters for this specific project.

5. Why BEPs Fail in Real Projects

Most BEPs don’t fail because teams reject them. They fail because they are unrealistically designed or poorly maintained.

Common failure patterns include:

Too long or theoretical

A 40-page BEP becomes shelfware. No one remembers it, let alone follows it.

Misaligned with real workflows

If the BEP doesn’t match how teams actually work, it becomes irrelevant within weeks.

Not versioned or updated

As models evolve, the BEP must evolve. A static BEP guarantees drift.

Lives outside the CDE

A BEP saved on someone’s desktop creates shadow processes and hidden rules.

Depends on manual policing

BEPs fail when humans must enforce rules. Checks must be automated in the CDE or your BIM governance platform.

A BEP succeeds when it stays short, clear, actionable, accessible, and enforced.

6. Common BEP Pitfalls and How to Avoid Them

Practical mistakes often derail projects even when the BEP is well written:

  • Vague deliverables > Use examples and acceptance criteria.
  • Parameter chaos > One schema with allowed values; validate on intake.
  • Shadow copies > CDE only; no email attachments.
  • Clash noise > Calibrate tests; review the top 10 weekly.
  • Late 4D/5D linkage > Pilot early; stabilize IDs.
  • Unenforced BEPs > Automate checks in the CDE or with a tool like D.TO, not spreadsheets.

7. Make the BEP a Living, Controlled Document

The BEP should evolve as the project develops, just like any controlled document.

Review monthly (15 minutes):

  • Update the exchange calendar
  • Adjust checks based on issues or model drift
  • Capture lessons learned from mockups and submittals
  • Version it like a controlled document


If the model changes but the BEP doesn’t, drift is guaranteed.

8. Quick-Start BIM Execution Plan Checklist

  • Project use cases agreed
  • Roles+RACI assigned
  • Drawing/model index with owners
  • Property schema + allowed values published
  • CDE structure + permissions set
  • Exchange calendar + formats fixed
  • Pre-publish checks defined & automated
  • Issue workflow with owners & SLAs
  • KPIs dashboard: closure rate, first-pass success, data completeness
  • Pilot zone validated
  • BEP signed off and version controlled

Quick checks you can run this week

  • Can every consultant find the latest federated model without asking someone?
  • Does your BEP define required properties, and do your current models contain them?

Success signals that your BEP is working

  • Coordination cycles with shrinking issue counts
  • Packages passing QA on the first attempt
  • Predictable model drops and fewer “where is the latest file?” questions
  • A cleaner handover dataset with fewer missing fields

Ready to streamline BEP enforcement and BIM workflows?

Discover how D.TO enhances your daily design workflows on D.TO’s key features page, or schedule a demo to explore them in more detail!!

Written by D.TO: Design TOgether

Empower your daily practice